Stream Order Integration With POS Guide (In Testing)
Last updated on
1/ Overview:
Stream provides a standardized integration platform that enables seamless connections between point-of-sale (POS) systems and delivery service providers (DSPs). Our standardized schema allows partners to quickly implement integrations that work across multiple platforms.
This guide explains how to integrate Blogic with Stream. Blogic functions as a POS service provider, and integrating with Stream enables Blogic to connect with various DSPs (Delivery Service Providers).
2/ How to Integrate Blogic with Stream:
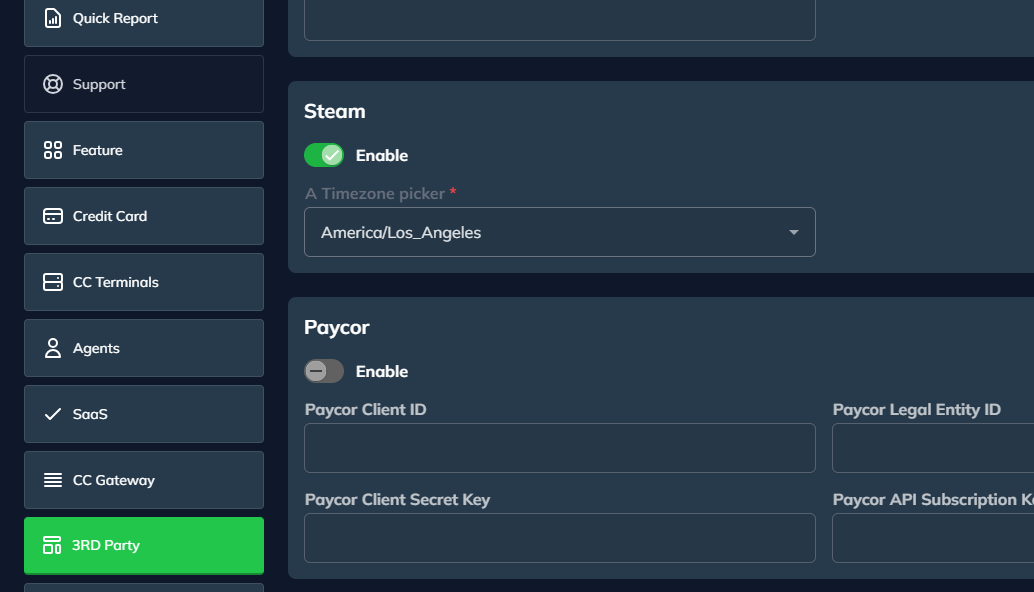
Step 1: Configure Store Settings
- Open the License Dashboard.
- Select the store you want to integrate.
- Navigate to the 3RD Party tab.
- Enable Stream and select the appropriate Timezone.
- Ensure that all required fields are filled before saving Street Address, City, State, Zip Code, Email, Phone Number, Timezone.
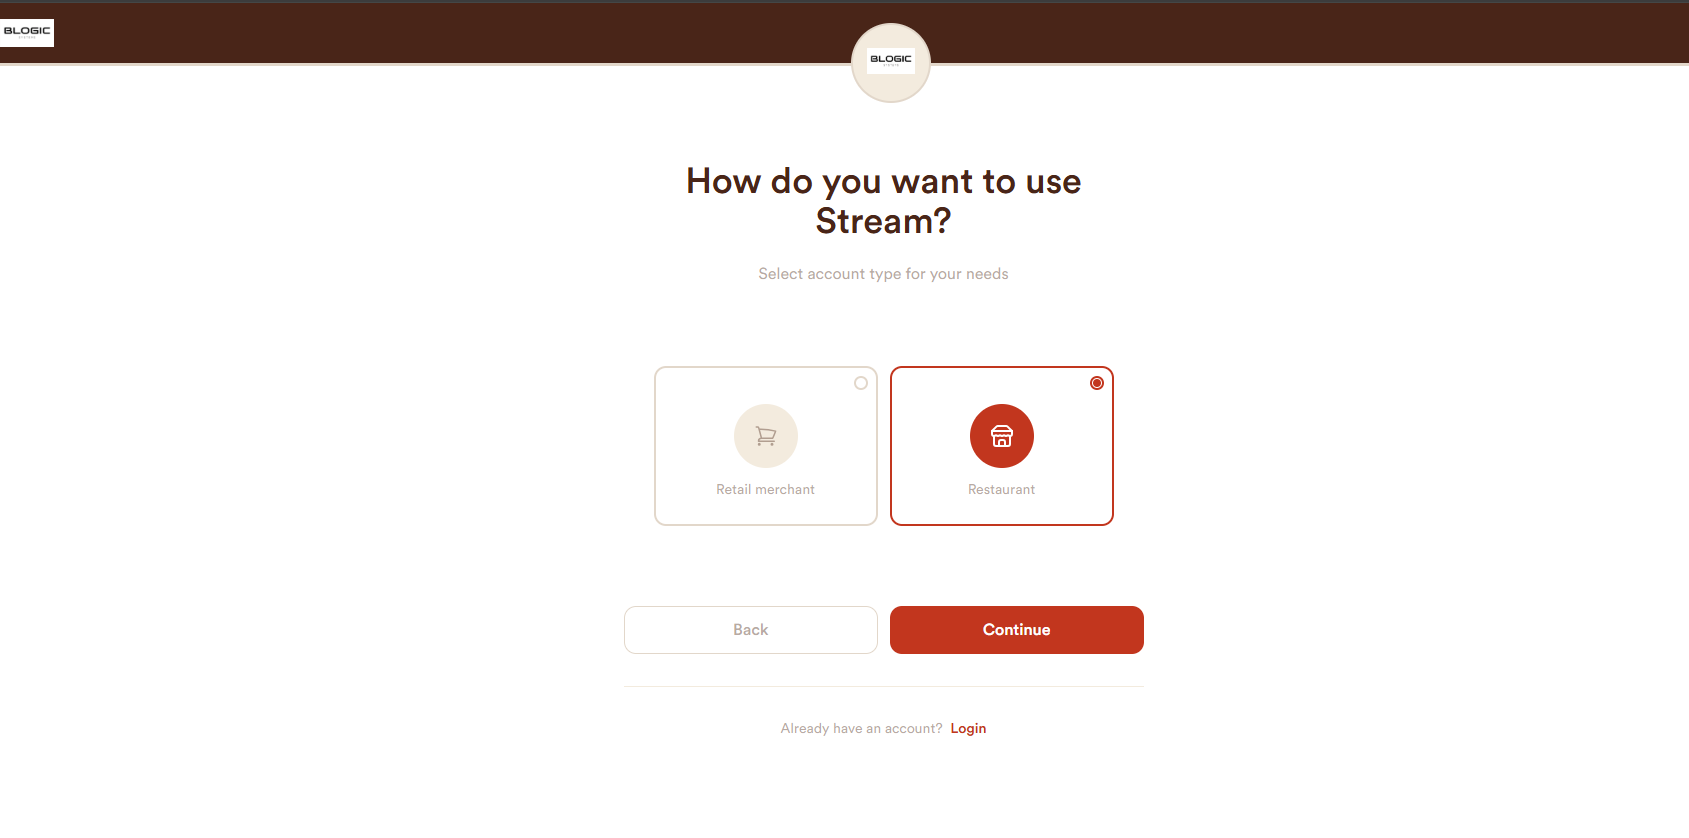
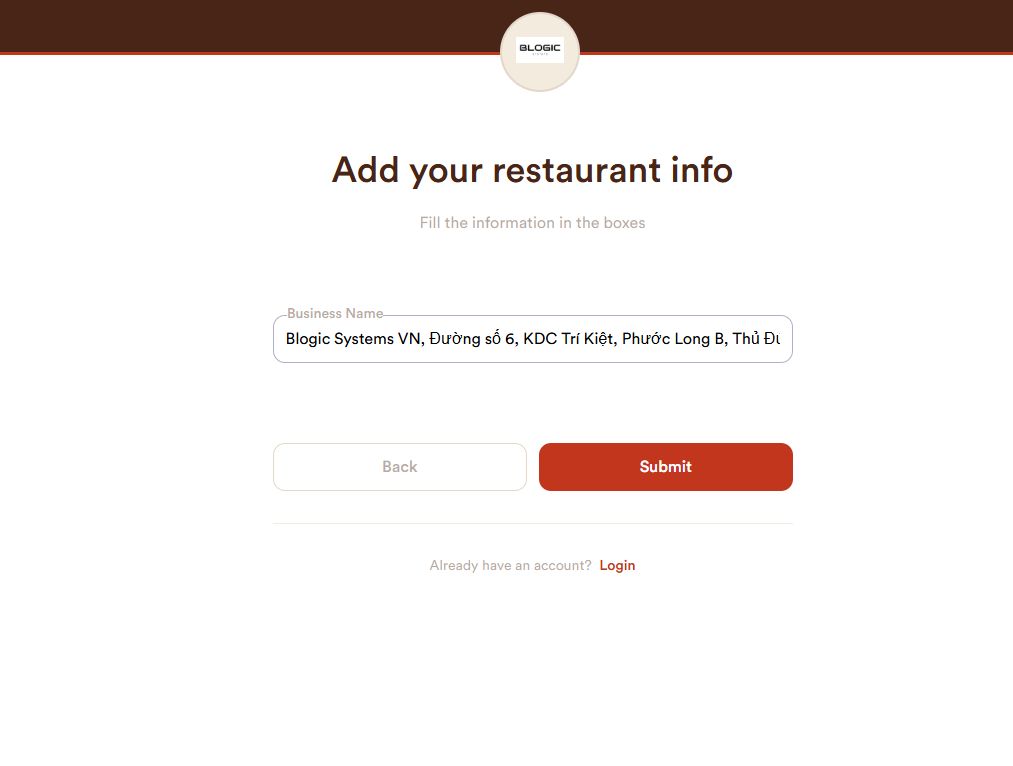
Step 2: Create a Stream Account
- Go to the Stream test link: https://blogic-dev.hookedapi.com.
- Sign up for a Stream account.
- Choose Restaurant as the business type.
- Fill in the Business Name.
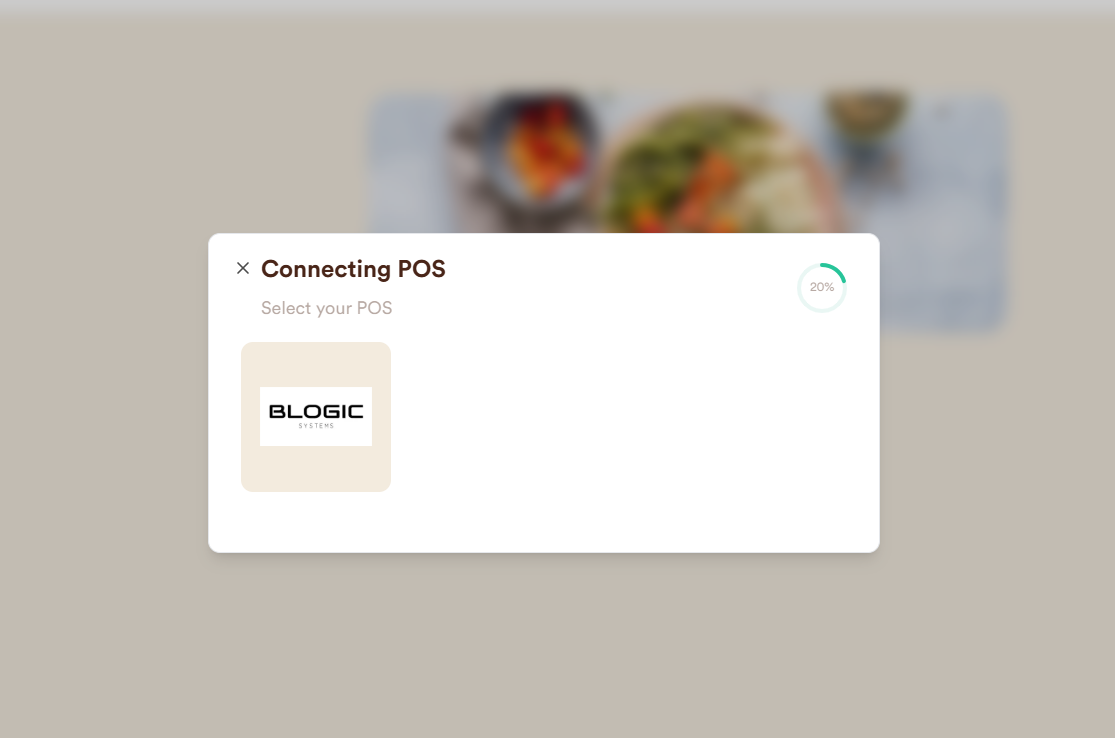
Step 3: Connect Blogic POS
- Select Blogic as the POS provider.
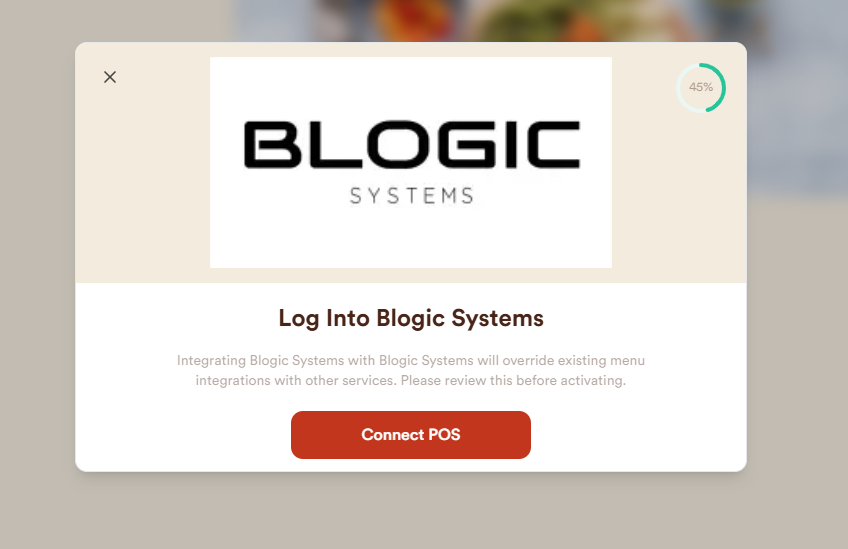
- Click Connect POS.
- During authentication, Stream will redirect you to Blogic’s login form.
- Log in using the Blogic View account for the store.
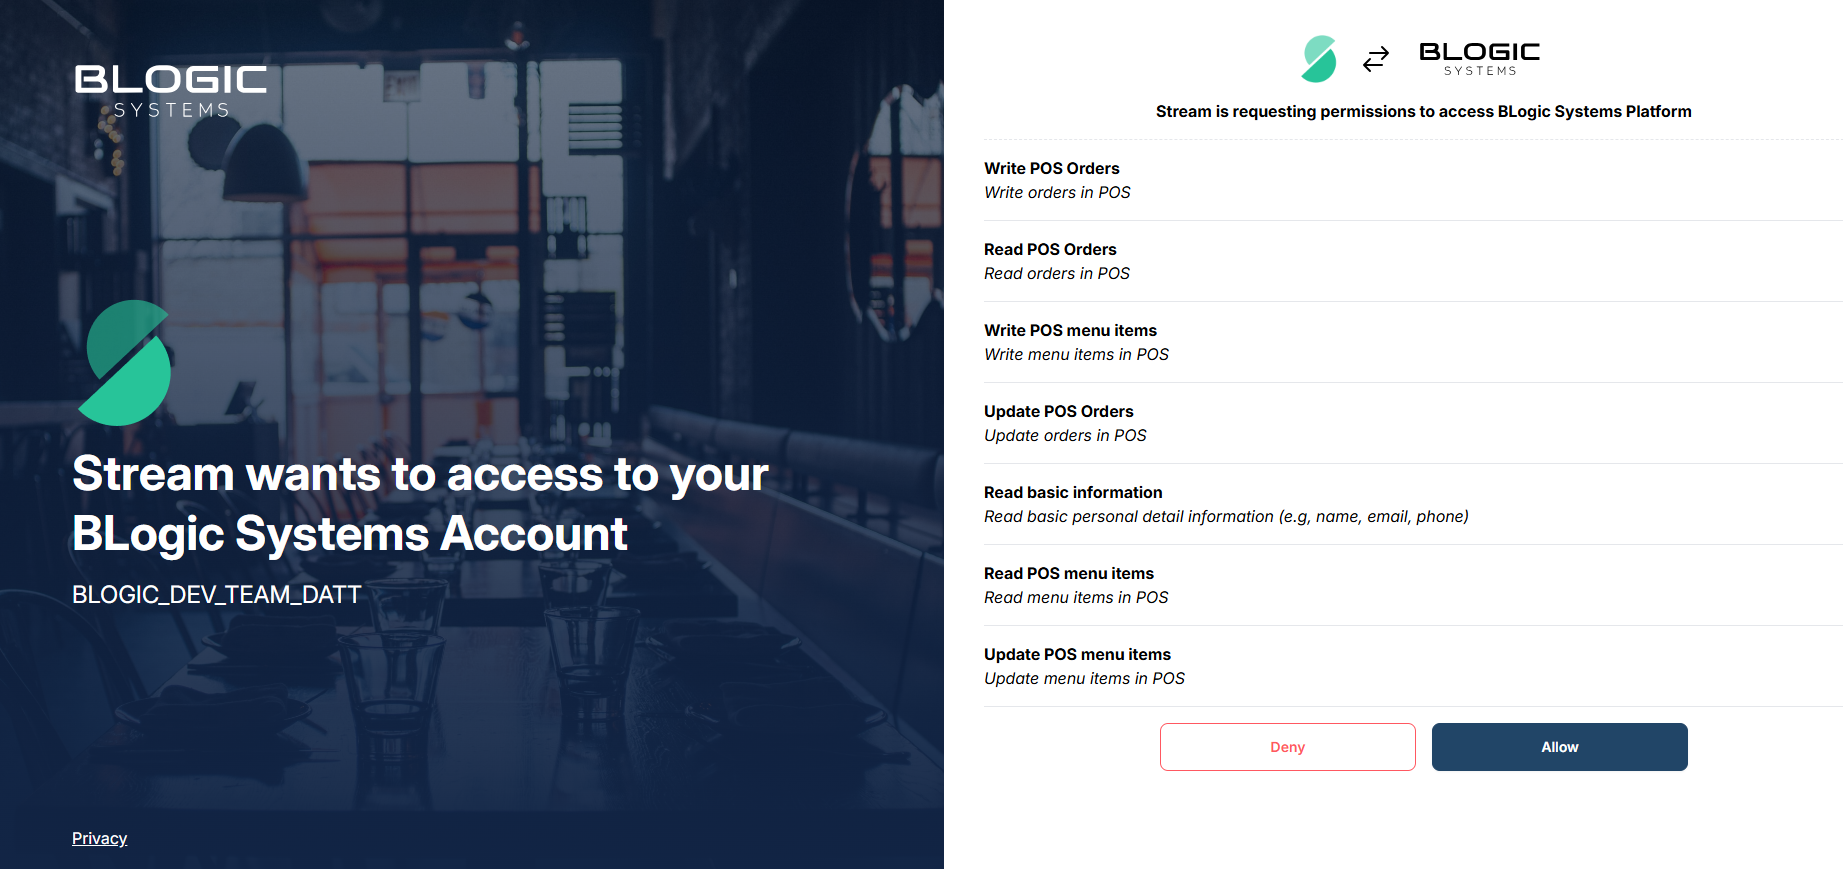
- After a successful login, a permission page will appear, listing the permissions Stream requires. Click Allow to proceed.
Step 4: Select a Store
- After authentication, Stream will display all available stores:
- The current store
- Any sibling stores that have Stream enabled
- Select the store you want to integrate and continue.

Step 5: Verify Integration
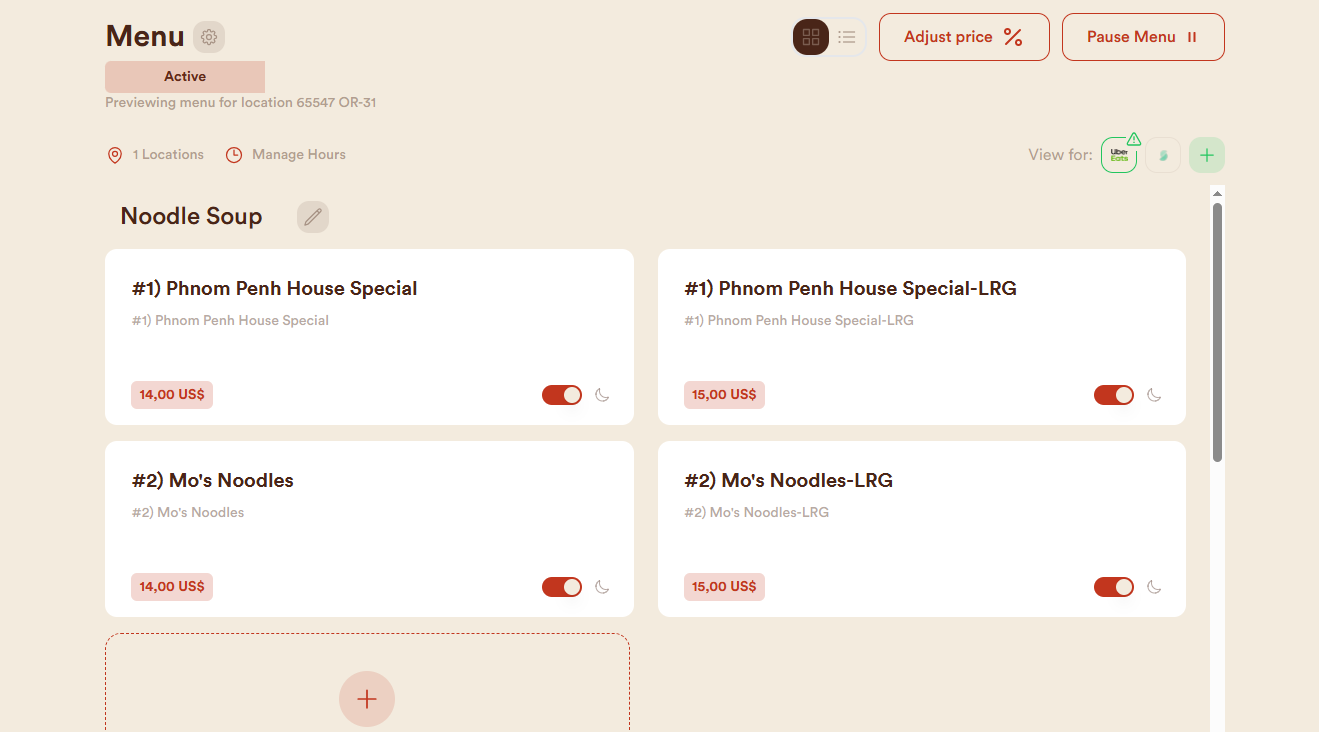
- After a successful integration, menu items should be loaded.
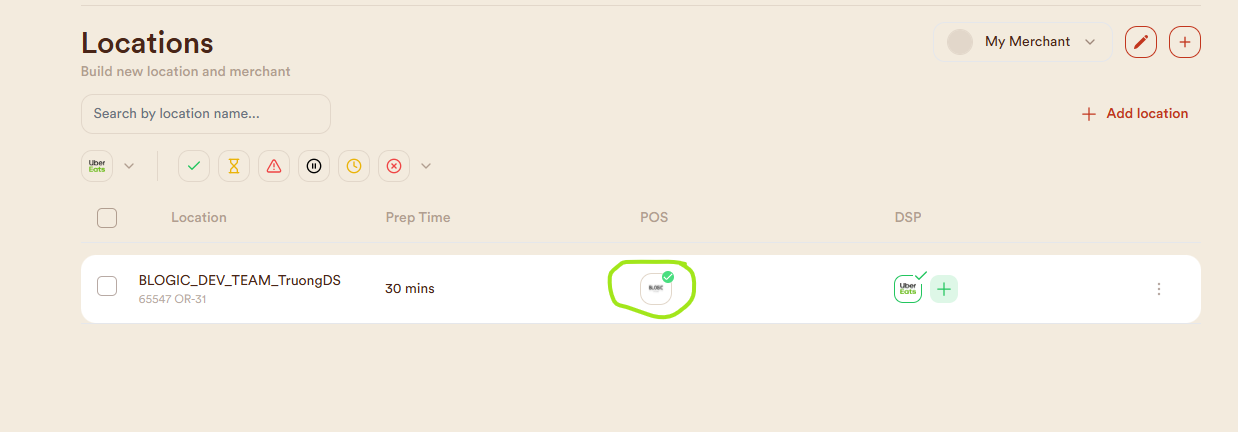
- To verify integration details:
- Go to Settings > Locations & Integrations.
- Click on the Blogic icon.
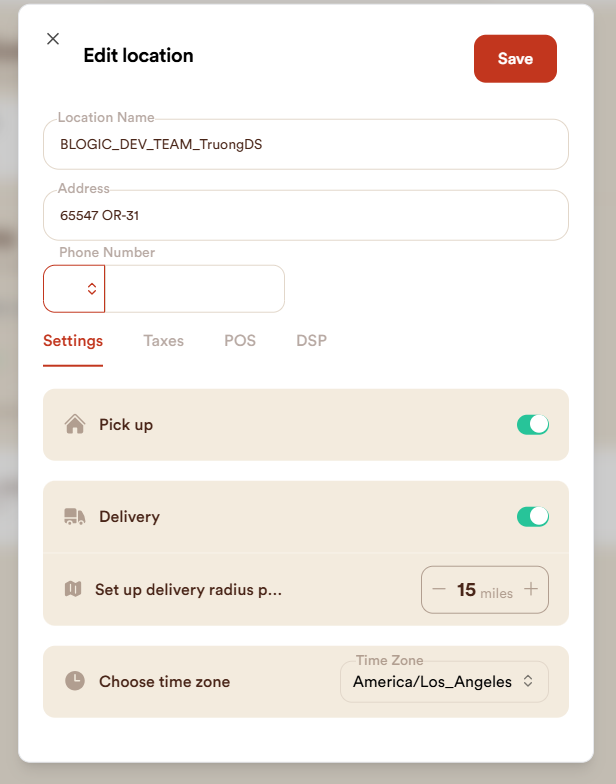
- Check details such as timezone, address, and other store information.
- Enable Pickup and Delivery options.

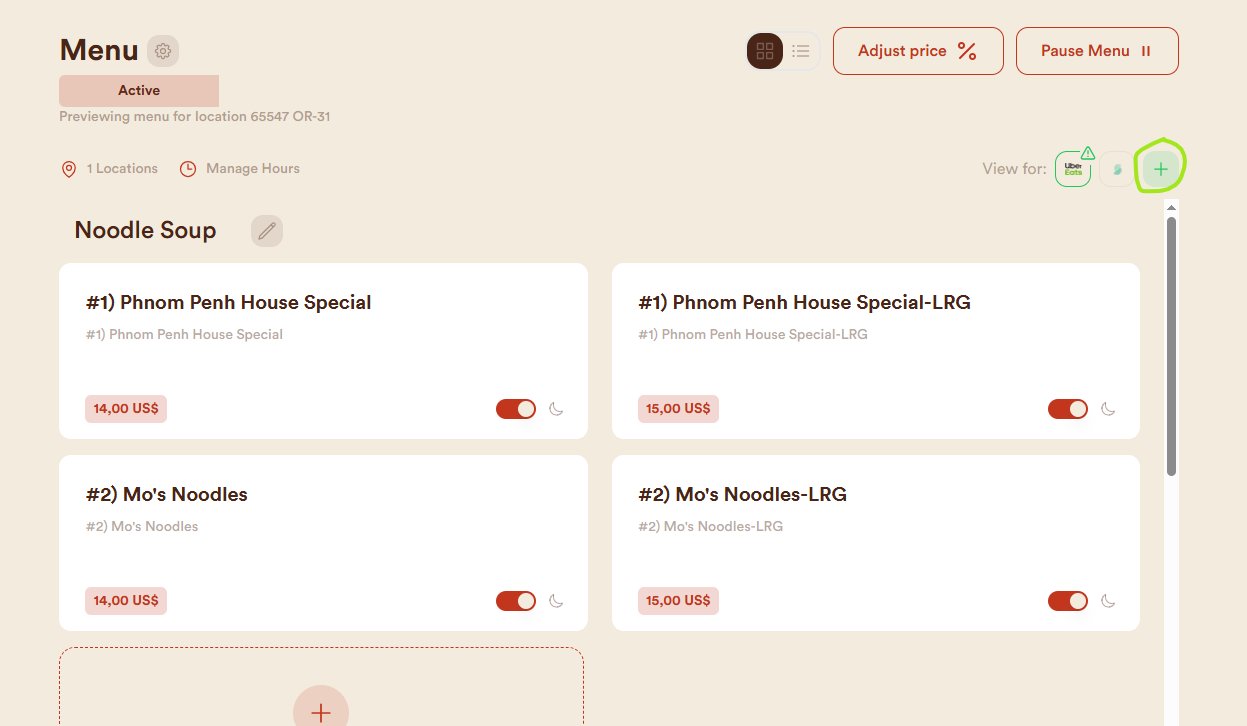
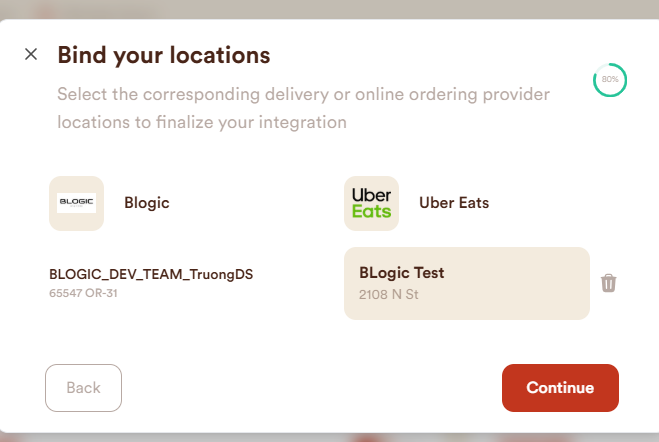
Step 6: Integrate with Other DSPs
- Click the + button to add a new DSP.
- Select Uber Eats.
- If a subscription is required to connect with a DSP, enter random information in the credit card section to bypass it.
- Once integrated, click the Publish All button in the top-right corner to publish the menu to all DSPs.
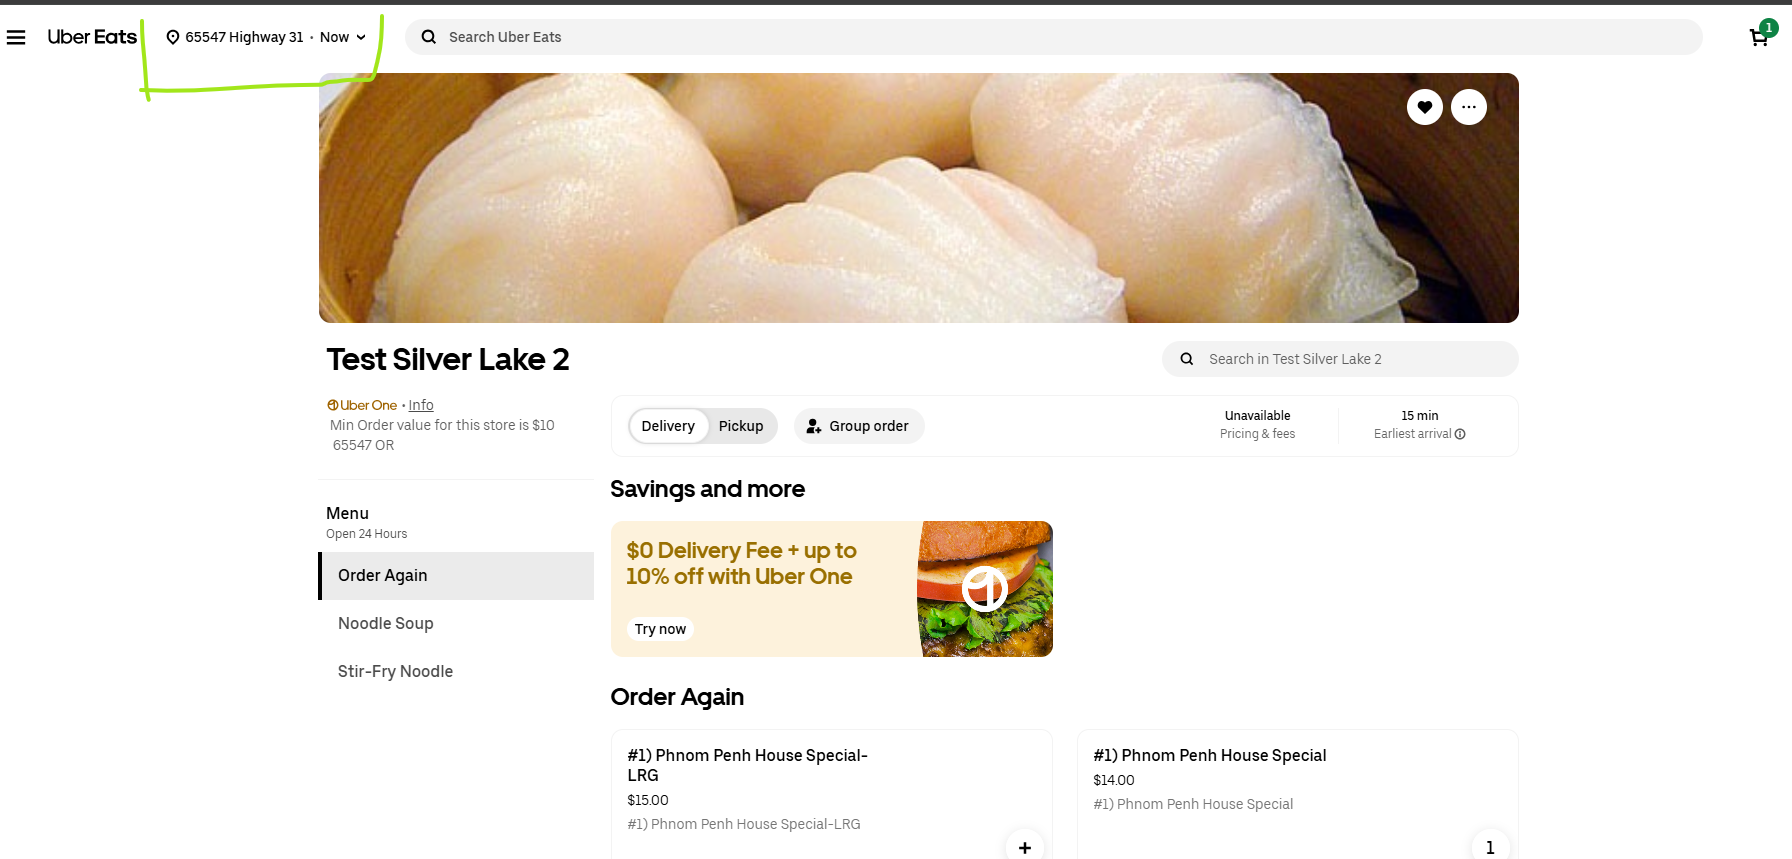
Step 7: Test Orders on Uber Eats
- Go to https://www.ubereats.com/ . Log in to a testing account on Uber Eats.
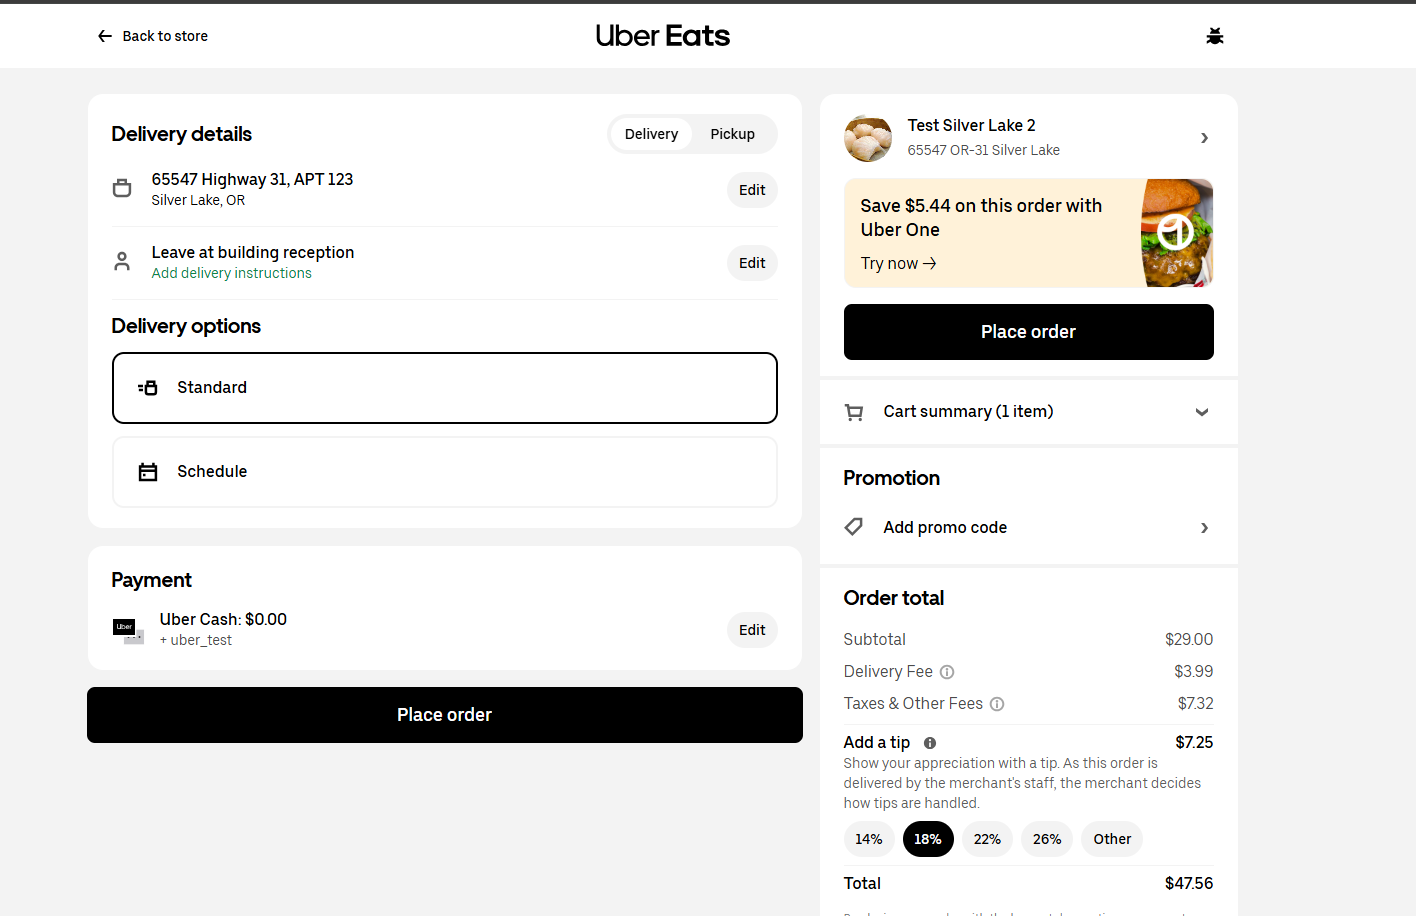
- Place an order.
- If the store is not visible, try changing the location in the top-left section of Uber Eats.
- The POS should receive the order when a user places an order.